Showing posts with label pullip doll. Show all posts

August 3, 2013

Pullip Fan-Stitched Wrap Skirt


To continue with the ballet look I wanted to achieve after watching Barbie in the Pink Shoes, the next article of clothing in line is the wrap skirt.
As a non-dancer, I cannot claim to be an expert as to what the right type of skirt a ballerina should wear while dancing, but I thought I will follow a basic rule of thumb: make sure it does not restrict movement. While A-line skirts should work fine, I thought I would try one that has a slit at the side and can easily be worn by tying around the waist.
This is a free crochet pattern for a Pullip Fan-Stitched Wrap Skirt worn over the Pullip Basic Leotard. The pattern was made for a Type 4 Pullip Body. For more information on the different body types of Pullip, please visit Facts About Pullip Dolls.
This pattern can also be adapted to fit Barbie, and can be worn over Barbie Strapless Bodysuit.
Materials:
  • Size No. 3 Steel Hook
  • Size No. 10 Crochet Cotton Thread (2 colors, A and B)


Gauge:


Pattern:
Note 1: Fan = work 5 dc in indicated stitch
Note 2: Half fan = work 3 dc in indicated stitch
Starting from the waist down:
Row 1: With A, ch 34, sc in the 2nd ch from hook and in each ch across, turn. (33)
Row 2: Ch 2 (does not count as dc all throughout), *fan in the next st, sk 1 st, sc in the next st, sk 1 st* across, fan in the last st, turn. Fasten off. (9 fans)
Row 3: With B, join with sl st in the 3rd dc of the first fan, ch 1, sc in the same st, *fan in the next sc, sc in the 3rd dc of the next fan* across, turn. Fasten off. (8 fans)
Row 4: With A, sk the 1st sc, join with sl st in the 3rd dc of the next (first) fan, ch 1, sc in the same st, *fan in the next sc, sc in the 3rd dc of the next fan* across, turn. Fasten off. (7 fans)
Row 5: With B, join with sl st in the first sc, ch 2, half fan in the same st, *sc in the 3rd dc of the next fan, fan in the next sc* across, sc in the 3rd dc of the last fan, half fan in the last sc, turn. Fasten off.
Row 6: With A, join with sl st in the first dc of half fan, ch 1, sc in the same st, *fan in the next sc, sc in the 3rd dc of the next fan* across, fan in the next sc, sc in the last dc of the half fan, turn. Fasten off.
Row 7: With B, repeat Row 4.
Row 8: With A, repeat Row 5.
Row 9: With B, repeat Row 6.
Row 10: With A, repeat Row 4, do not fasten off. Sc in each of the remaining st to end of row, sc across the ends of rows evenly, ch 50 (to make the first tie), fasten off.
To make the second tie:
Ch 50, sc to join in the opposite side and sc across the ends of rows evenly down to Row 9. Sc in the remaining skipped sts of Row 9, join with sl st in the first st of Row 10. Fasten off.
Weave in all ends.

July 20, 2013

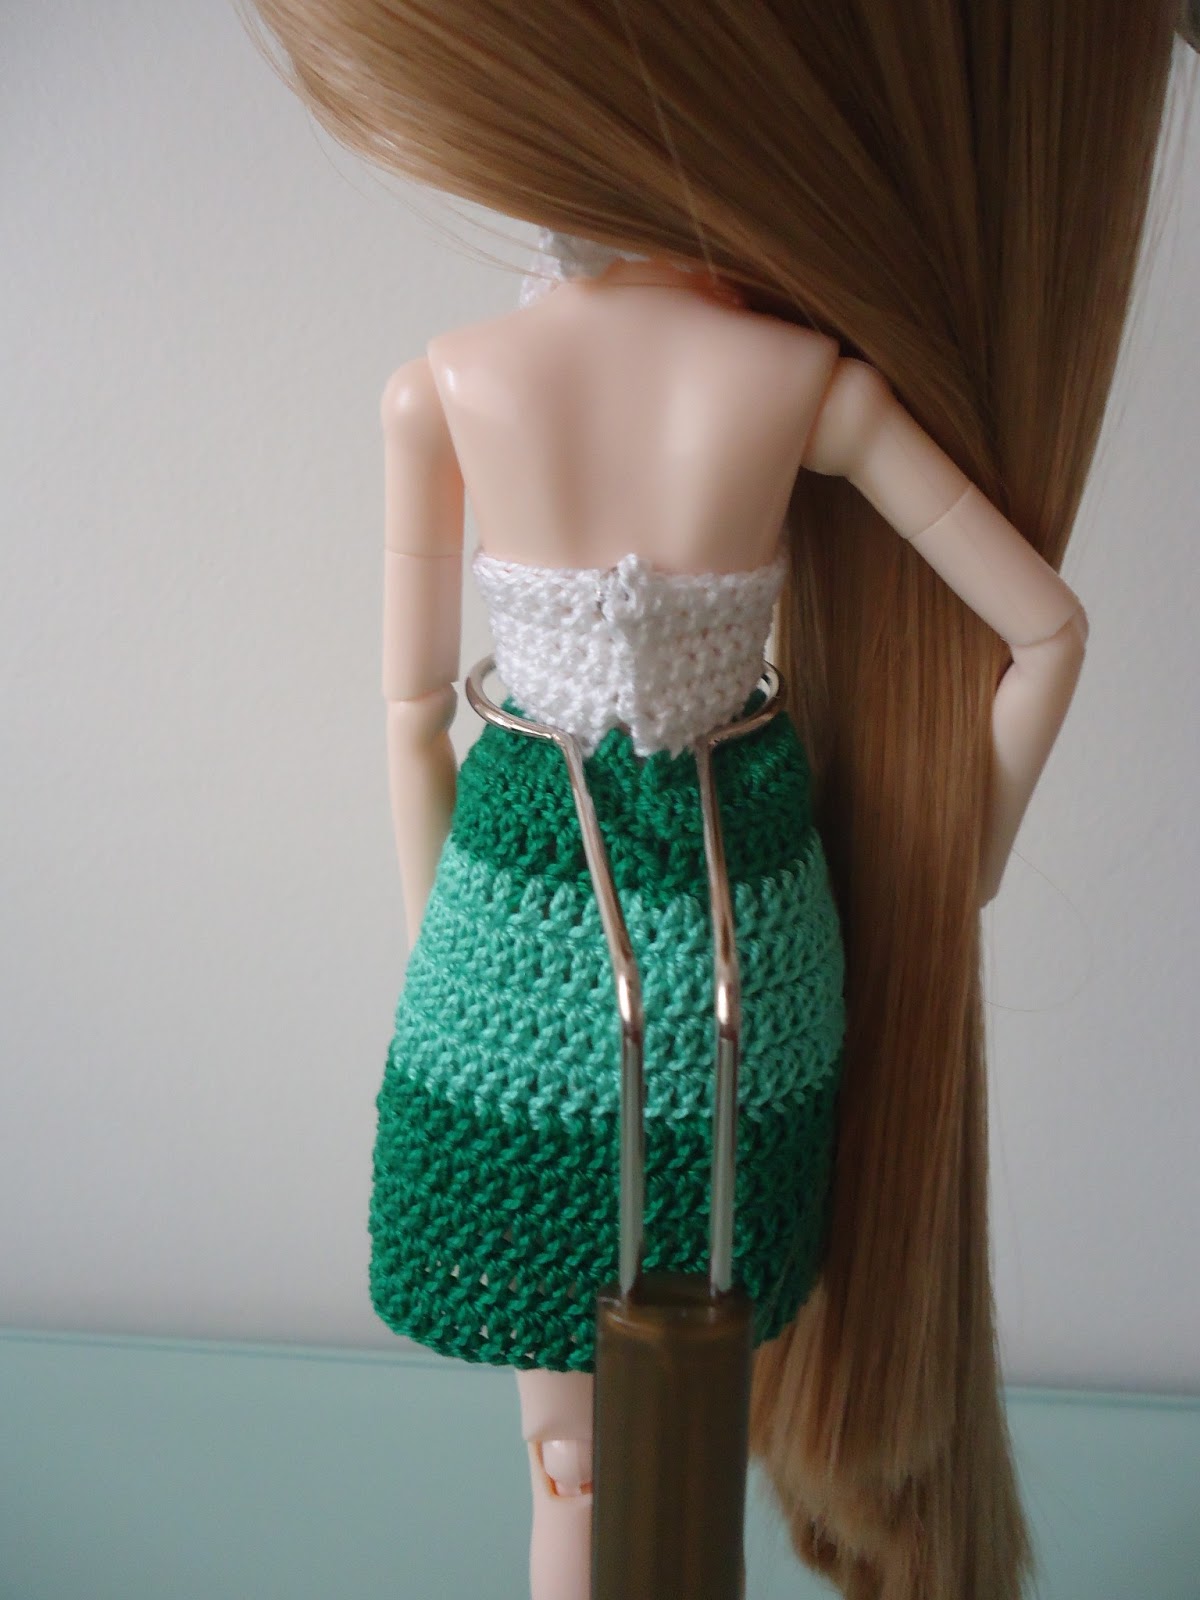
Pullip Halter Colorblock Dress

Pullip Halter Colorblock Dress w/ Laptop Messenger Bag

I have somewhat neglected to update this blog for the past few months, but I have been adding new patterns in HubPages for Barbie clothes, as well as clothes for other dolls like Sylvanian Families and Pullip dolls. For an updated list of my patterns, just visit the HubPages widget on the right side of this blog.

I have also changed the name of this blog from Barbie Doll Crochet Clothes to Fashion Doll Crochet Clothes to include my growing obsession in making clothes for other dolls.

For the past few months, I have been focusing more on Pullip rather than Barbie, because I am looking for a change in pace when it comes to designing. Not that Barbie is never going to be featured again, but I just wanted to take a break from the typical Barbie doll.

This pattern was specifically designed for a Type 4 Pullip body. For more information on the different types of Pullip body, please visit: Facts about Pullip Dolls.

Materials:
Size 10 crochet cotton thread [in 3 colors - white (W), green (G), light green (LG)]
No. 3 steel hook or size needed to obtain gauge
1 small snap


Gauge:
Gauge is similar to Pullip Beach Hat
*inc = work 2 sc in the indicated stitch*
*dc around/across = work 1 dc in each st around/across*


Pattern:
Top:
Starting from the bottom:
Row 1: With W, ch 27, sc in the 2nd ch from hook and in each ch across, turn. (26)
Row 2: Ch 1, sc in the first 11 sc, inc in the next sc, sc in the next 2 sc, inc in the next sc, sc in the last 11 sc, turn. (28)
Row 3: Ch 1, sc in the first 11 sc, inc in the next sc, sc in the next 4 sc, inc in the next sc, sc in the last 11 sc, turn. (30)
Row 4: Ch 1, sc in the first 11 sc, inc in the next sc, sc in the next 6 sc, inc in the next sc, sc in the last 11 sc, turn. (32)
Row 5: Ch 1, sc in the first 11 sc, sk 1 sc, *2 dc in the next sc, 3 dc in the next sc, 2 dc in the next sc*, sc2tog, rep from *, sk 1 sc, sc in the last 11 sc, turn.
Row 6: Ch 1, sc in the first 10 sc, sk 1 sc, dc in the next 6 sts, sk 1 st, sc in the next sc, sk 1 st, dc in the next 6 sts, sk 1 sc, sc in the last 10 sc, turn.
Row 7: Ch 1, sc in the first 13 sts, *ch 26, sc in the 2nd ch from hook and in each ch across*, sc in the next 7 sts of Row 6, repeat from *, sc in the last 13 sts.
Fasten off.
Working on the skirt:
Row 1: With G, attach thread with sl st in bottom of top, ch 2 (does not count as dc all throughout), dc in the next 2 sts, *2 dc in the next st, dc in the next 2 sts*, repeat from * across, turn. (34)
Row 2: Ch 2, dc in the first 4 dc, (2 dc in the next dc, dc in the next 4 dc) across, turn. (40)
Row 3: Ch 2, dc across, join w/ sl st in the first dc, do not turn. (40)
Optional: At this point, I fastened off and changed color to achieve the colorblock look.
Row 4: With LG, attach thread with sl st in the first dc, ch 2, dc across, join. (45)
Row 5: Ch 2, (dc in the next 4 dc, 2 dc in the next dc) around, join. (54)
Row 6-7: Repeat Row 3. (54)
Optional: I changed color again after this row back to G.
Row 8-12: With G, repeat Row 3. (54)
Fasten off and weave in all ends.
Sew in a snap at the top of the bodice. Tie the halter top at the nape of the neck.
Back view of the dress