 |
| Barbie One Shoulder Cut Out Bodycon Dress |
Since I have been working on Pullip doll crochet clothes lately, I thought I would satisfy some readers out there who have been requesting for more Barbie doll clothes. Because I prefer tight fitting clothes for the more proportional body of Barbie, I came up with this Cut Out Bodycon Dress.
This hub is a free crochet pattern for a Barbie One Shoulder Cut Out Bodycon Dress. This dress was made to fit a Barbie Basics doll (or Model Muse). For more information on different body types, please visit Crocheting Clothes for Your Barbie Doll.
Materials and Gauge
- Size No. 1 Steel Hook
- Size No. 10 Crochet Cotton Thread
- 1 Small Snap
- Gauge is similar to Barbie Simple Strapless Bodycon Dress
Crochet Stitches
- ch = chain
- sc = single crochet
- sl st = slip stitch
- sc2tog = sc the next 2 stitches together
- inc = work 2 sc in the next st
Pattern
Part 1: Tube skirt
Starting from the bottom part of the skirt,
Round 1: Ch 38, sl st in the first ch to form a ring, ch 1, sc in each ch around, join with sl st in the first sc, turn. (38)
Round 2: Ch 1, sc in each sc around, join, turn. (38)
Round 3 - 16: Repeat Round 2.
Note: If you want the skirt to be longer, feel free to add more rounds at this point.
Round 17: Ch 1, sc in the first 11 sc, sc2tog, sc in the next 12 sc, sc2tog, sc in the last 11 sc, join, turn. (36)
Round 18: Ch 1, sc in the first 10 sc, sc2tog, sc in the next 12 sc, sc2tog, sc in the last 10 sc, join, turn. (34)
Round 19: Ch 1, sc in the first 10 sc, (sc2tog, sc in the next 10 sc) 2 times, join, turn. (32)
Round 20: Ch 1, sc in the first 9 sc, sc2tog, sc in the next 10 sc, sc2tog, sc in the last 9 sc, join, turn. (30)
Fasten off.
 |
| Here is the tube skirt after fastening off. |
Part 2: Cut out design
Note: At this point, you need to work in rows, instead of rounds.
Row 1: Sk the first 8 sc of the Round 20 from Part 1, attach the thread with sc in the next sc, work 1 sc in the next 11 sc, sc2tog, sc in the next 14 sc, sc2tog, sk the remaining sc, turn. (28)
Row 2: Ch 1, sc2tog, sc in the first 11 sc, sc2tog, sc in the next 11 sc, sc2tog, turn. (25)
Row 3: Ch 1, sc2tog, sc in the first 8 sc, sc2tog, sc in the next sc, sc2tog, sc in the next 8 sc, sc2tog, turn. (21)
Row 4: Ch 1, sc2tog, sc in the first 8 sc, inc, sc in the next 8 sc, sc2tog, turn. (20)
Row 5: Ch 1, sc2tog, sc in the first 7 sc, inc 2 times, sc in the next 7 sc, sc2tog, turn. (20)
Row 6: Ch 1, sc2tog, sc in each sc across to the last 2 sc, sc2tog, turn. (18)
Row 7-10: Repeat Row 6. (10)
Row 11: Ch 1, inc, sc in each sc across to the last 2 sc, inc, turn. (12)
Row 12-14: Repeat Row 11. (18)
Do not fasten off.
Note: Unfortunately, I forgot to take a photo after this part since it took me longer than expected to finalize the design. But, at this point, the dress should be just below the bust area.
 |
| Side view of the cut out design. |
Part 3: Bust part
Note: From
Part 2, we need to connect the front and back together to cover Barbie's bust
area so this part will be worked in Rounds.
Round 1: Ch 15, join with sl st in the first sc of the last Row
of Part 2, turn.
Round 2: Ch 1, sc in each of the back loops of the chain and in
each sc around, join with sl st in the first sc, turn. (33)
Round 3: Ch 1, sc in the first 8 sc, inc, sc in the next 17 sc,
inc, sc in the last 6 sc, join, turn. (35)
Round 4: Ch 1, sc in the first 12 sc, sk 1 sc, 3 dc in the next
3 sc, sk 1 sc, sc2tog, sk 1 sc, 3 dc in the next 3 sc, sk 1 sc, sc in the last
11 sc, join, turn. (42)
Round 5: Ch 1, sc in the first 10 sc, sk 1 sc, dc in the next 8
dc, sk 1 dc, sc in the next sc, sk 1 dc, dc in the next 8 dc, sk 1 sc, sc in
the last 11 sc, join, turn. (38)
Round 6: Ch 1, sc in the first 10 sc, sk 1 sc, sc in the next 8
dc, sk 1 sc, sc in the next 8 dc, sk 1 sc, sc in the last 9 sc, join, turn.
(35)
Do not fasten off.
 |
| Closer view of the One Shoulder Cut Out Bodycon Dress. |
Part 4: Shoulder strap
Note: Since
we are now working on the straps, this part will be worked in rows.
Row 1: Sl st in the first 11 sc, ch 1, sc in the same sc, sc in
the next 5 sc, sc2tog, sc in the next 6 sc, sk the remaining sc, turn. (13)
Row 2: Ch 1, sc2tog, sc in each sc across until the last 4 sc,
sc2tog 2 times, turn. (10)
Row 3: Ch 1, sc2tog, sc in each sc across until the last 2 sc,
sc2tog, turn. (8)
Row 4: Ch 1, sc in each sc across until the last 2 sc, sc2tog,
turn. (7)
Row 5: Ch 1, sc2tog, sc in each sc across, turn. (6)
Row 6: Ch 1, inc, sc in each sc across until the last 2 sc,
sc2tog, turn. (6)
Row 7: Ch 1, sc2tog, sc in each sc across until the last 2 sc,
inc, turn. (6)
Row 8 - 9: Repeat Rows 6 - 7. (6)
Row 10: Ch 1, sc2tog, sc in each sc across until the last 2 sc,
sc2tog, turn. (4)
Row 11: Ch 1, sc in each sc across, turn. (4)
Row 12 - 21: Repeat Row 11. (4)
Fasten off and weave in all ends.
Sew on snaps at the back with 1 on the shoulder strap and 1 on
the strip created from Part 3. The back will look like this:
 |
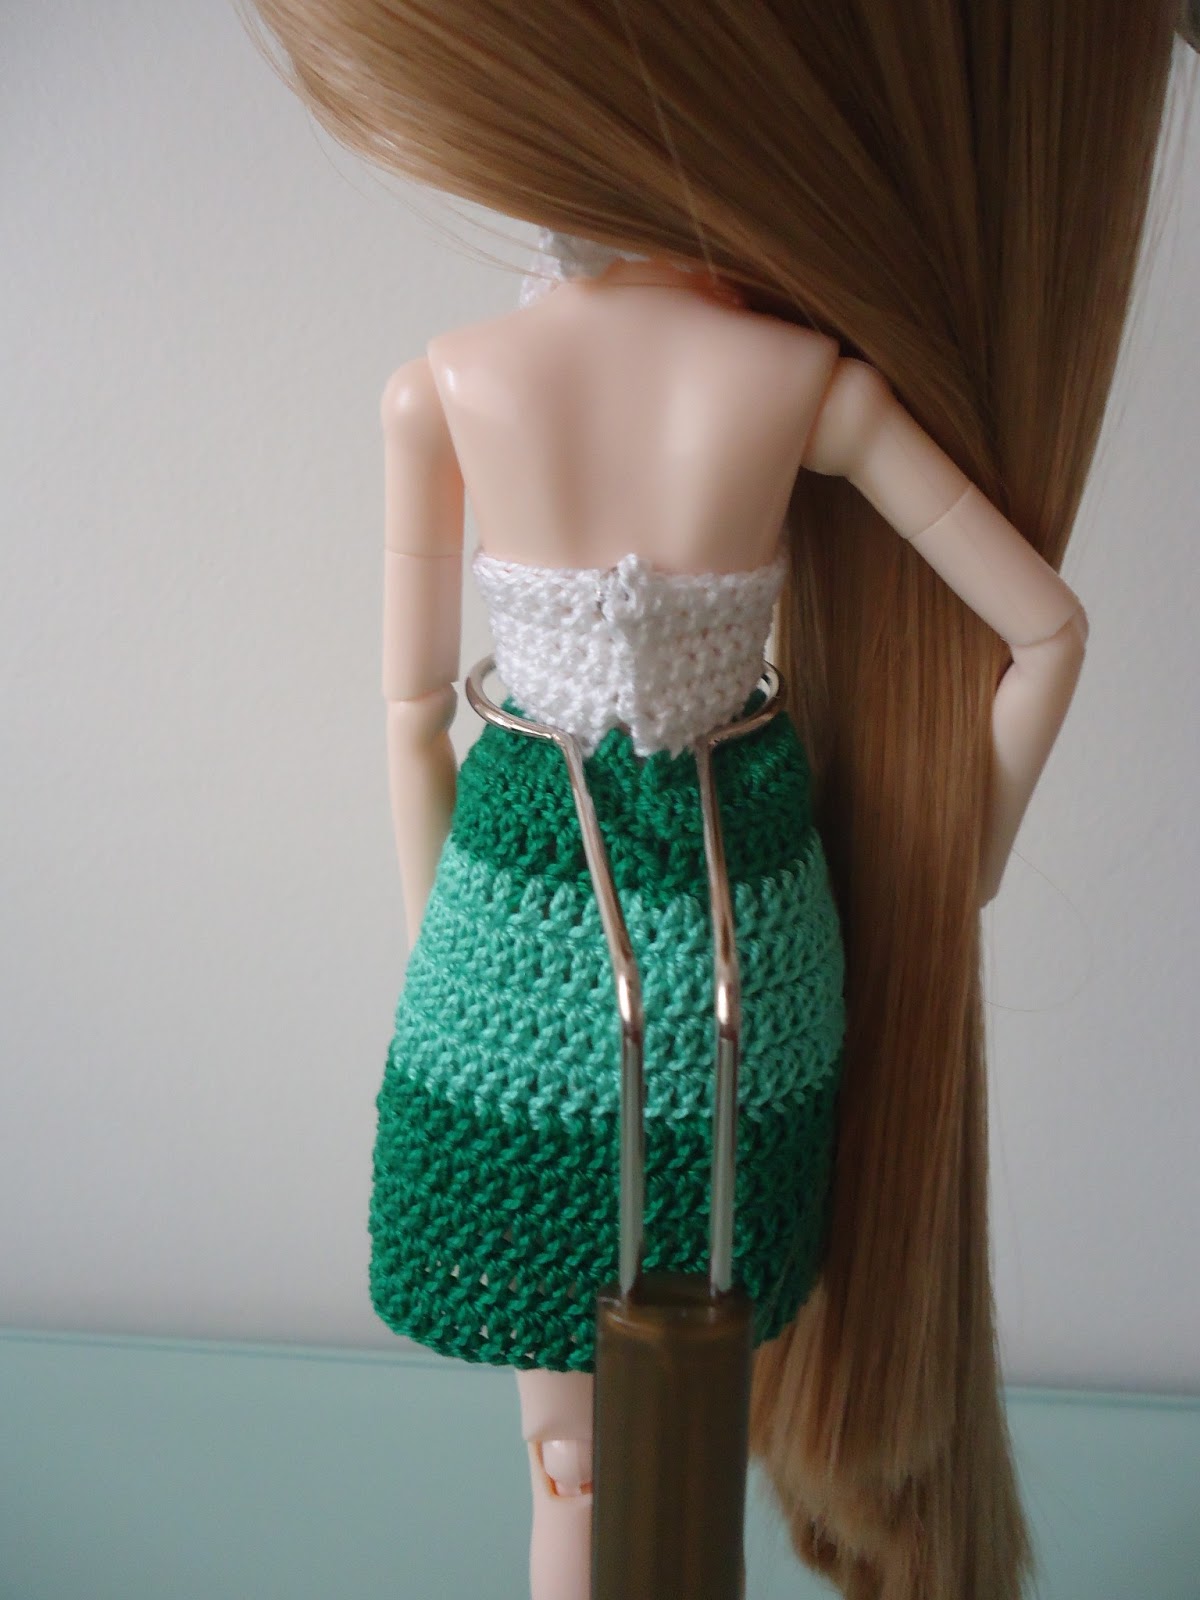
| Back view of the dress |
Now you can just pair it
with Barbie Ballet Flats and Barbie Granny Square Shopping Tote Bag to
complete the look.


